Purpose
This is a step-by-step procedure on how to use the group scheduler.
My Account
- Go to https://cschurch.ca/MyAccount.
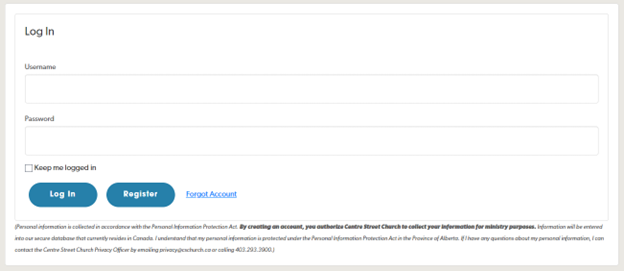
- It will take you to a login page, if you are not logged in yet.
- If you have an account with Rock, log in using that credentials.
- If you do not have an account with Rock, please go to the Register an account section.
- Once logged in, you’ll see your My Account.
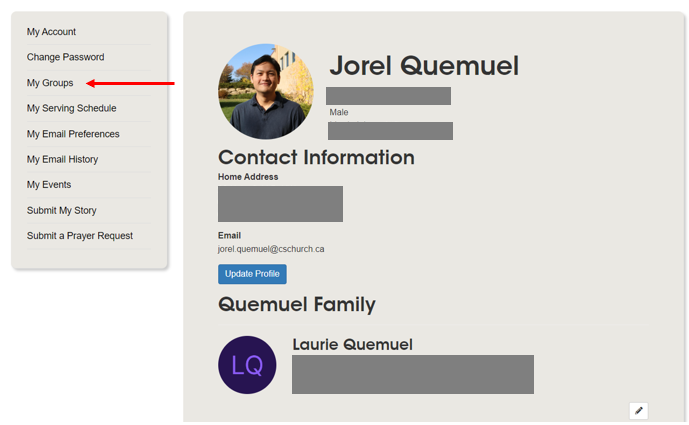
You can see your contact information, family information and groups information here.
- To take attendance of your group, please go to Taking Attendance section.
Registering an account
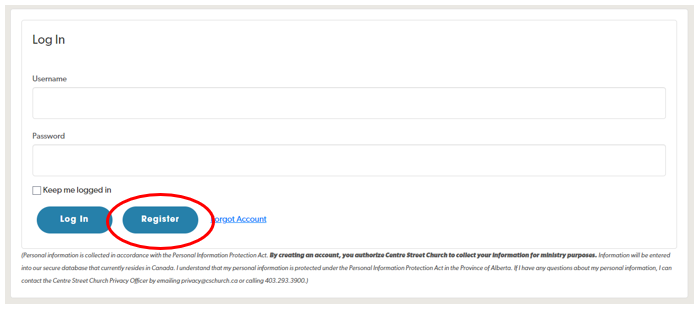
- On the login page, click Register.
- Enter the following information to register your new account.
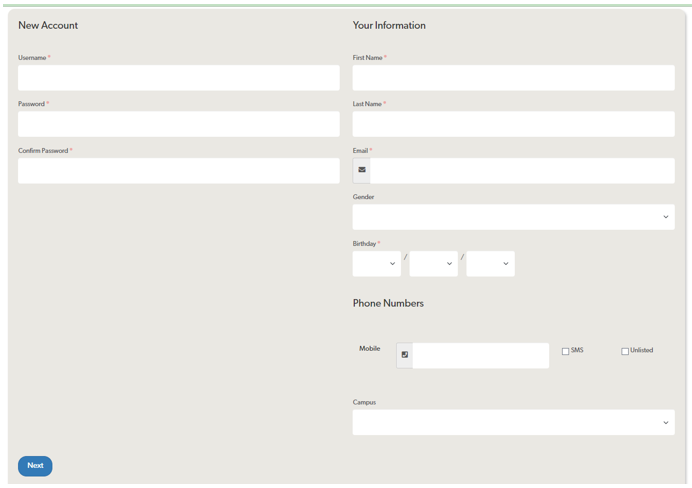
- Username
The username convention is firstname.lastname.
- Password / Confirm Password
The criteria for a valid password is as follows:
- Must be at least 8 characters
- Must have an uppercase character
- Must have a numerical character
- Must have a special character
- First Name / Last Name
This will help match your user account to your profile in our database.
- Email
Valid email address.
- Birthday
This will help be an identifier to your profile, in case many profiles share the same name.
- Once you click Next, a list will show where you will need to select the profile that matches yours.
- Click Next, and an email confirmation will be sent to you.
- Click the link from your email and it will let you log in to Rock once again.
- After logging in, if you see gone back to the main CSC website page, click your name at the top right of the screen and click My Account.
My Serving Schedule
- On your My Account page, on the left navigation, click on My Serving Schedule.
It will show you the Schedule Toolbox. You can see your schedules (Pending and Upcoming).
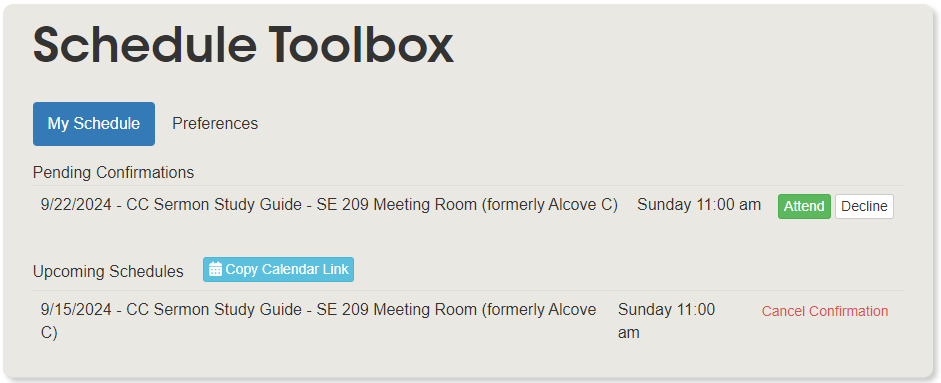
You can Accept/Decline your schedules right here. You should also receive an email notification that allows you to Accept/Decline as well.
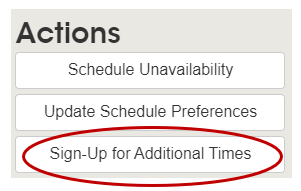
Sign Up for Additional Times
- One other thing you can do here is to Sign-Up for Additional Times. You can find this button under Actions on the right side.
It will list all the possible schedules you can sign up for.
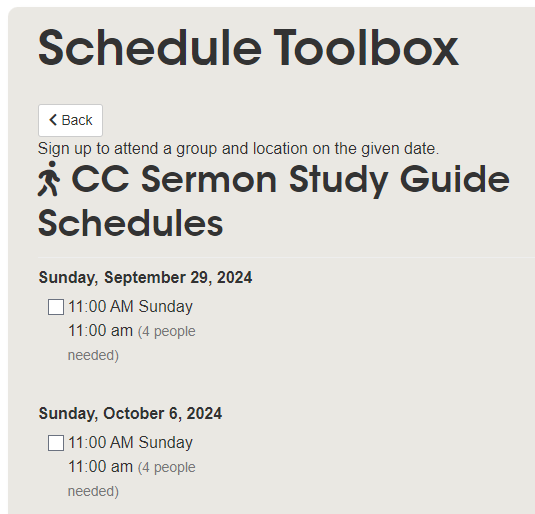
- Check the schedule you want to sign up for.
Schedule Status Board
If you want to see who's on schedule in our team, this is how.
Scroll down to the very bottom of the My Serving Schedule page.
You should see this.

If you are not seeing all three roles/groups, CC Sermon Study Guide, CC SSG Facilitator, and CC SSG Summary Writer, you will need to select these groups.
- Click Groups on the top right of the panel.
- Click on the dropdown of the Select Groups.
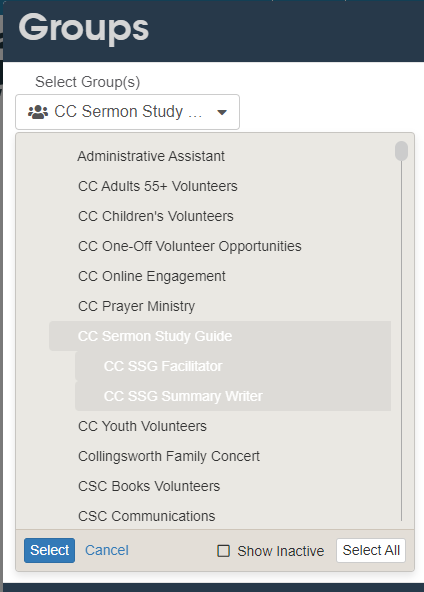
- Select CC Sermon Study Guide. Click on the left space of "CC Sermon Study Guide" to see the other roles/groups. Select CC SSG Facilitator and CC SSG Summary Writer as well.
- Click Select.
- Click Save.