This is a step-by-step procedure on how to use the group toolbox on the leader’s perspective.
My Account
- Go to https://cschurch.ca/MyAccount.
- It will take you to a login page, if you are not logged in yet.
- If you have an account with Rock, log in using that credentials.
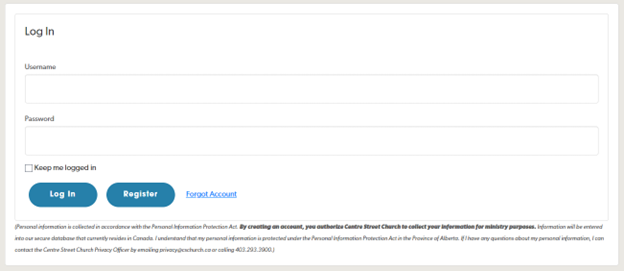
- If you do not have an account with Rock, please go to the Register an account section.
- Once logged in, you’ll see your My Account.
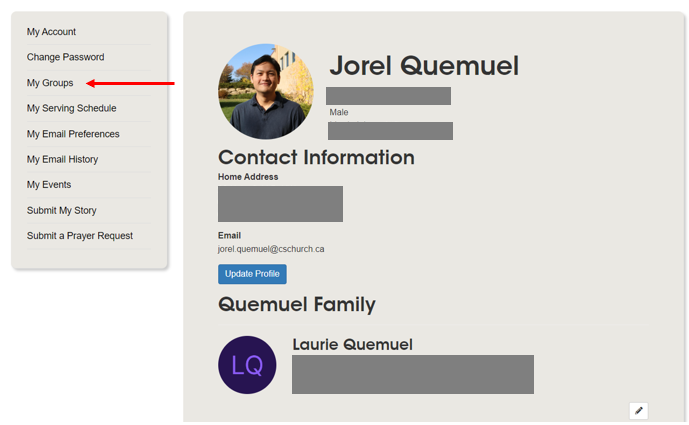
You can see your contact information, family information and groups information here.
- To take attendance of your group, please go to Taking Attendance section.
Registering an account
- On the login page, click Register.
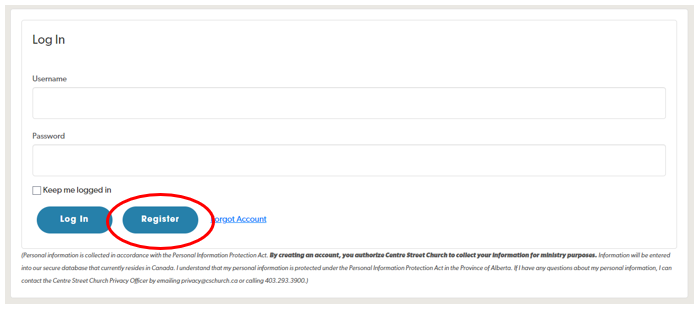
- Enter the following information to register your new account.
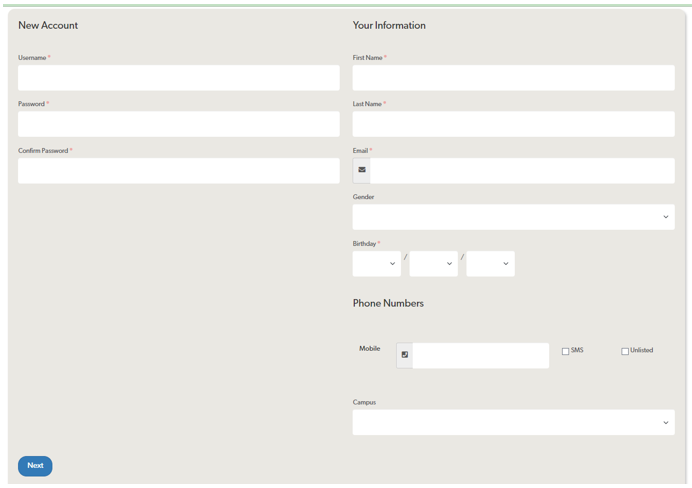
- Username
The username convention is firstname.lastname.
- Password / Confirm Password
The criteria for a valid password is as follows:
- Must be at least 8 characters
- Must have an uppercase character
- Must have a numerical character
- Must have a special character
- First Name / Last Name
This will help match your user account to your profile in our database.
- Email
Valid email address.
- Birthday
This will help be an identifier to your profile, in case many profiles share the same name.
- Once you click Next, a list will show where you will need to select the profile that matches yours.
- Click Next, and an email confirmation will be sent to you.
- Click the link from your email and it will let you log in to Rock once again.
- After logging in, if you see the “Website Under Construction” page, click your name at the top right of the screen and click My Account.
Taking Attendance
- On your My Account page, on the right side, click on any groups.
It will show you the Group Toolbox page, where you can see the members/roster of the group.
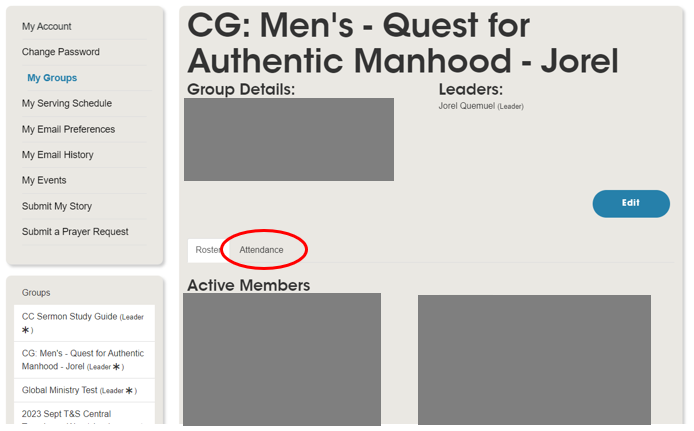
- Click the Attendance tab.
- Click on the date that the group met.

* Note: if the date is not found, you can click on the [+] on the top and bottom right of the table.
- Click on the members of the group that were there. Add any news, praise reports, updates on the Notes box.
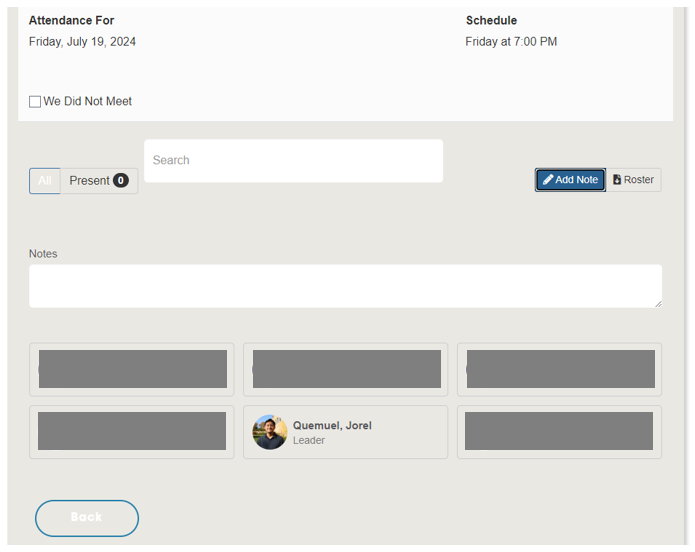
**Note: If your group did not meet during this date, you can just select the We Did Not Meet box and click Save.
- Click Save.
Add a new member to the group
- On the Group Toolbox page, go to the bottom right of the page to find the Add Member button.

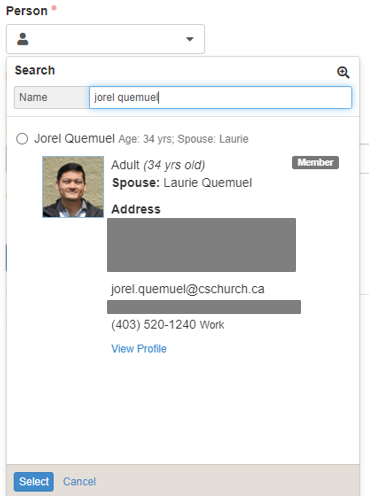
- Find the person to add.
- Click the Person drop down menu.
- Enter the name of the person you are going to add
- Select the person from the result list.
- Click Select.
- Select Active member status.
- Select Member as role.
- Click Save.
Email the group members
- On the Group Toolbox page, go to the bottom right of the page to find the Email Roster button.
- Enter the Subject and Message.
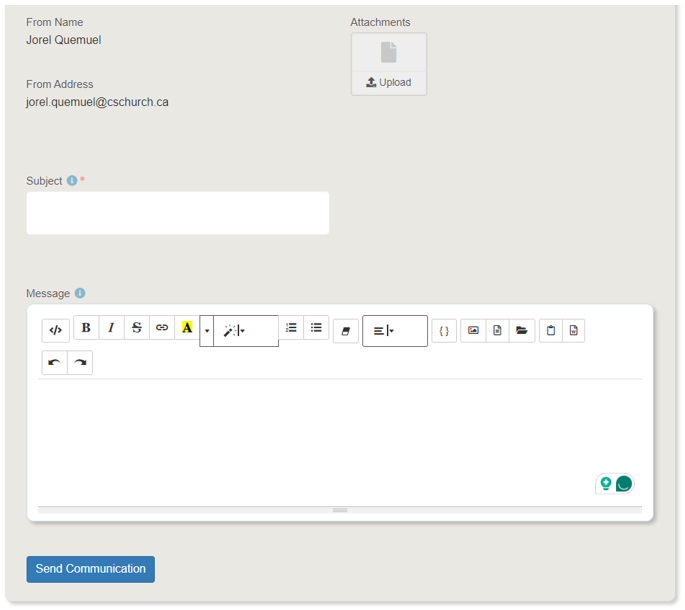
- Click Send Communication.